How to Change Anvils on an Alina Compac Geneve Dial Bore Indicator
The Alina Compac Geneve Dial Bore Indicator is a precision instrument widely used in various industries to measure internal bore diameters with incredible accuracy. Ensuring the device operates efficiently often requires maintenance, including the replacement of anvils. This comprehensive guide will walk you through the process of changing anvils, providing expert insights, detailed explanations, and helpful tips to make the procedure smooth and effective.
Introduction
The Alina Compac Geneve Dial Bore Indicator is a tool known for its reliability and precision in bore measurements. Anvils, an essential part of the instrument, need periodic replacement to maintain accuracy. This guide will provide step-by-step instructions, tools required, and best practices for replacing anvils. By the end of this article, you’ll understand how to change anvils on an Alina Compac Geneve Dial Bore Indicator effectively, ensuring the tool delivers consistent performance.
Understanding the Components of a Dial Bore Indicator
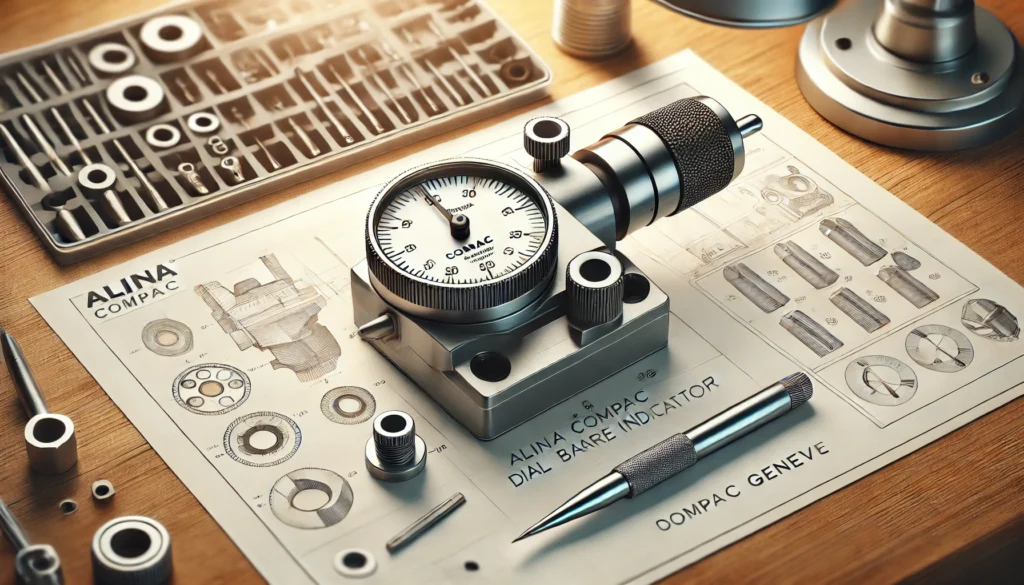
To change anvils on your Alina Compac Geneve Dial Bore Indicator, it’s essential to understand its main components. Here’s a breakdown:
| Component | Description |
| Dial Indicator | Displays the measurement readings on a graduated dial. |
| Measuring Head | Houses the anvil and other measuring components. |
| Anvils | Replaceable parts that contact the bore’s surface to determine dimensions. |
| Locking Nut | Holds the anvil securely in place. |
| Extension Rod | Used for measuring deeper bores. |
By familiarizing yourself with these components, you’ll be better equipped to perform the replacement procedure.
Pre-Replacement Preparations
Before replacing anvils, it’s vital to prepare your workspace and gather the necessary tools:
- Tools Required:
- A clean microfiber cloth
- A wrench or spanner (if required for your model)
- Replacement anvils of the correct size
- Calibration rings or a master gauge for post-replacement calibration
- Set Up Your Workspace:
- Ensure the area is clean and free of dust or debris.
- Use a soft, non-slip mat to avoid damaging the instrument.
- Safety Measures:
- Handle the instrument with care to avoid misalignment.
- Avoid overtightening components to prevent damage.
Step-by-Step Guide: How to Change Anvils
Step 1: Identify the Correct Anvil Size
Before you begin, determine the correct anvil size for your bore measurement. Anvils come in different sizes to accommodate various diameters. Refer to your device’s manual or markings on the anvils for guidance.
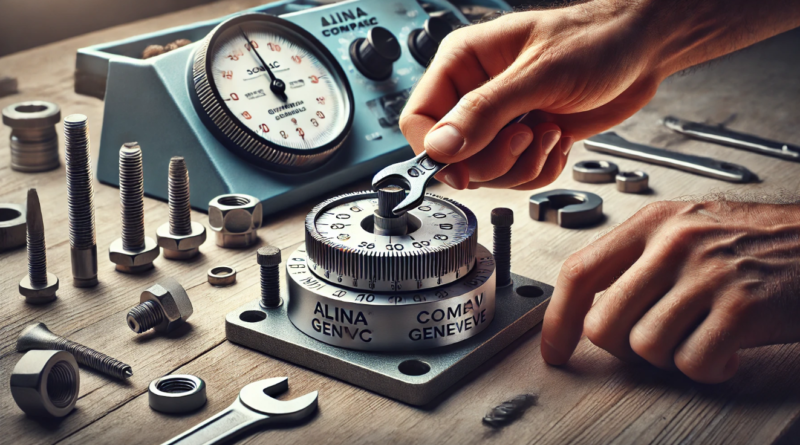
Step 2: Loosen the Locking Nut
Locate the locking nut on the measuring head. Using your fingers or a wrench, turn the nut counterclockwise to loosen it. Be gentle to avoid stripping the threads or damaging the device.
Step 3: Remove the Existing Anvil
Once the locking nut is loosened, carefully slide out the current anvil. Inspect the anvil and the measuring head for any signs of wear, debris, or damage. Clean the area with a microfiber cloth if needed.
Step 4: Install the New Anvil
Align the new anvil with the measuring head’s slot. Slide it in gently, ensuring it’s seated properly. Tighten the locking nut by turning it clockwise. Avoid overtightening to prevent restricting the anvil’s movement.
Step 5: Calibrate the Indicator
After installing the new anvil, use a calibration ring or master gauge to verify the accuracy of the instrument. Adjust the dial as necessary to ensure precise measurements.
Step 6: Test the Instrument
Perform a test measurement on a known bore diameter to confirm the instrument’s accuracy. Make adjustments if needed.
Post-Replacement Maintenance Tips
To extend the life of your Alina Compac Geneve Dial Bore Indicator and its anvils:
- Clean Regularly: After each use, clean the instrument to remove dust and debris.
- Store Properly: Keep the tool in a protective case in a dry, cool environment.
- Schedule Calibration: Regularly calibrate the instrument to maintain accuracy.
- Inspect for Wear: Periodically check the anvils and other components for signs of wear or damage.
Frequently Asked Questions (FAQs)
What is the proper torque for tightening the locking nut?
Using the correct torque ensures the anvil is secure without damaging the threads. Refer to your tool’s manual for the recommended torque specification.
Can I use the dial bore indicator for materials with irregular surfaces?
The Alina Compac Geneve Dial Bore Indicator can measure irregular surfaces, but specific techniques and anvils may be required for accurate readings.
What should I do if the anvil doesn’t fit properly?
Ensure you are using the correct anvil for your model and that the measuring head is clean and free of debris. If the problem persists, consult the manufacturer.
How do I store spare anvils properly?
Spare anvils should be stored in a dry, dust-free case to prevent rust or damage. Use labeled compartments to organize different sizes.
Can worn anvils be reconditioned or reused?
While it’s possible to recondition anvils in some cases, this requires professional tools and expertise. Replacing them is usually a safer and more cost-effective option.
Conclusion
Changing anvils on an Alina Compac Geneve Dial Bore Indicator is a straightforward process that ensures the instrument remains accurate and reliable. By following the steps outlined in this guide, you can perform the replacement safely and efficiently. Regular maintenance and calibration further enhance the tool’s longevity and performance. With proper care, your dial bore indicator will continue to deliver precise measurements for years to come.
Recommended Articles:
- The Ultimate Guide to Nike Air ACG Trigo All-Trac
- The Ultimate Guide to 2016-2021 Nissan Titan XD 5.0L Cummins Diesel MPG
- Everything You Need to Know About the 4th Watanabe Kazuyo Kids Cup Go
- The Ultimate Guide to X-Axis Timing Belt LL-2GT 43022 SC 12023 293
- Cracked Pink Zek Top: The Ultimate Guide to Style, Features, and Care